 Setup Guide
 VPN Use Cases
 Account & Billings
 FAQ’s
FAQ’s Manual Configuration
 2387 Views
 April 27, 2023
 AngelVPN
 No Comments
 1
1
What is a AngelVPN Browser Extension?
The AngelVPN browser extension is one of the lightest and simplest ways to connect your web browser – whether it be Chrome, Firefox, or Edge – to a proxy server. And with the flick of a switch, you can easily turn the plugin on and off as you please while you’re browsing the web. However, there is one thing to take note of: The extension only protects your web browser and nothing else on your device. This means that other apps, games, and tools will still use a direct, unencrypted internet connection. If you want to protect them, you’ll need to install the native AngelVPN app. Click this 👉 link to download the AngelVPN app now.
For what purpose can it be used for?
The extension is extremely useful for unblocking region-restricted streaming services and online TV channels. Despite most streaming services’ ban against most free VPNs, AngelVPN continues to provide exceptional streaming quality and instant access to all your TV channels and other blocked services in your region. Just install the Chrome extension and start streaming anything you want from anywhere in the world.
- To install AngelVPN extension for Chrome, follow these steps:
- Click 👉 here to download chrome extension.
- Click Add to Chrome.
- Click Add extension.
- AngelVPN Chrome Extension has been successfully added to Chrome.
- Click the AngelVPN icon at the top-right corner of the browser.
-
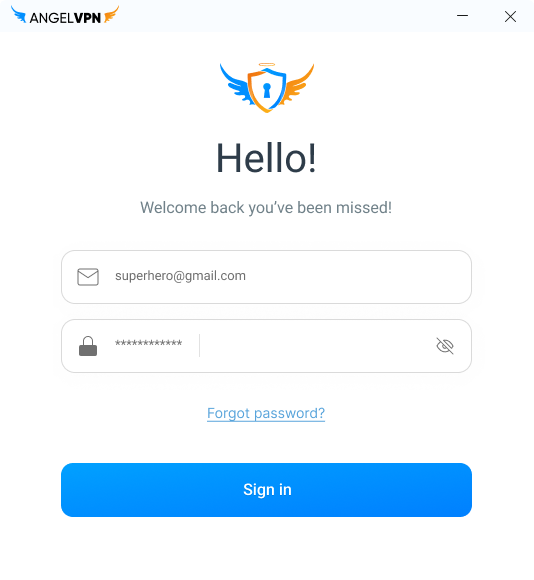
Enter your AngelVPN credentials & press Login.

Note: Your login details are your email address and the password you set up during the purchase process.
-
Click Grey button.

- You are now connected.

Connect via Country
Enhance your online browsing experience and effortlessly access your desired websites with the help of VPN connection with any country.
- Click Select Country.
-
Select the country you want to connect to or enter your country via
search option.
- You are now connected.
Please follow these easy steps to enable Bypass Proxy.
- Click Settings from the bottom right corner.
-
Click Bypass proxy.

- Toggle Disable proxy on bypass list.
-
Enter the Hostname or IP Address and enable the toggle
button.
Note: Any URL that you add to the list has to be entered in complete details. For eg: google.com has to be entered as www.google.com.
- Connect to AngelVPN’s Chrome Extension.
-
Once connected, you’ll be able to access those websites without
AngelVPN’s proxy protection.
Note: Once you access your desired website with Bypass Proxy enabled, the website’s data will not pass through the VPN tunnel.
WebRTC (Web Real-Time Communication) is a tool that allows browsers to initiate real-time, peer-to-peer connections with the websites you’re trying to visit.
Please follow these easy steps to enable WebRTC Leak Protection.
- Click the Settings icon from the bottom right corner.
- Toggle WebRTC leak protection.
-
Whenever you connect with AngelVPN Chrome Extension you can browse
the internet with WebRTC protection enabled.
-
Click the Settings icon from the bottom right corner.
- Click Logout.
-
Click Yes to proceed.

- Right click over the AngelVPN icon.
- Click Remove from Chrome.
-
Click Remove
again. AngelVPN extension will be removed and you will be redirected
to the feedback page.
- Submit your Feedback to complete the process.


